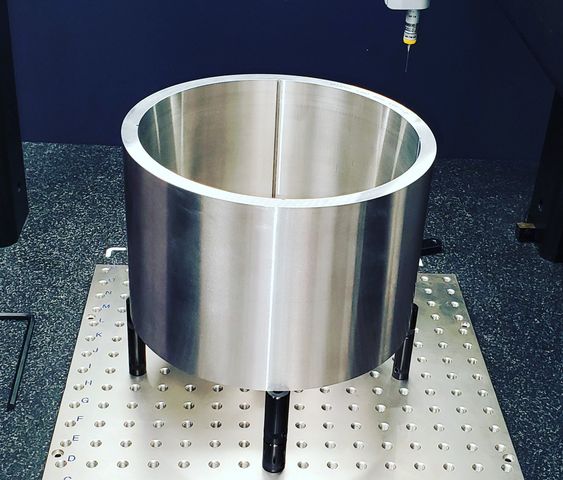
They called it ring but I call it cylindrical monster with very tight tolerance. We received these “rings” and we were asked to measure the ID and OD of the ring with the tolerance of ±0.0005″. With the high accuracy of our machine (volumetric accuracy of 0.005 mm or 0.0002″) we were able to measure and certify the rings.

